
GUIDE / B2XKLAIM
How to use the B2XKlaim tool
B2XKlaim automatically translates BPMN diagrams into X-Klaim code for coordinating multi-agent ROS-based robotic systems — bridging visual mission design and executable coordination code.
Visual mission design → executable multi-robot coordination
Access the B2XKlaim Web Interface
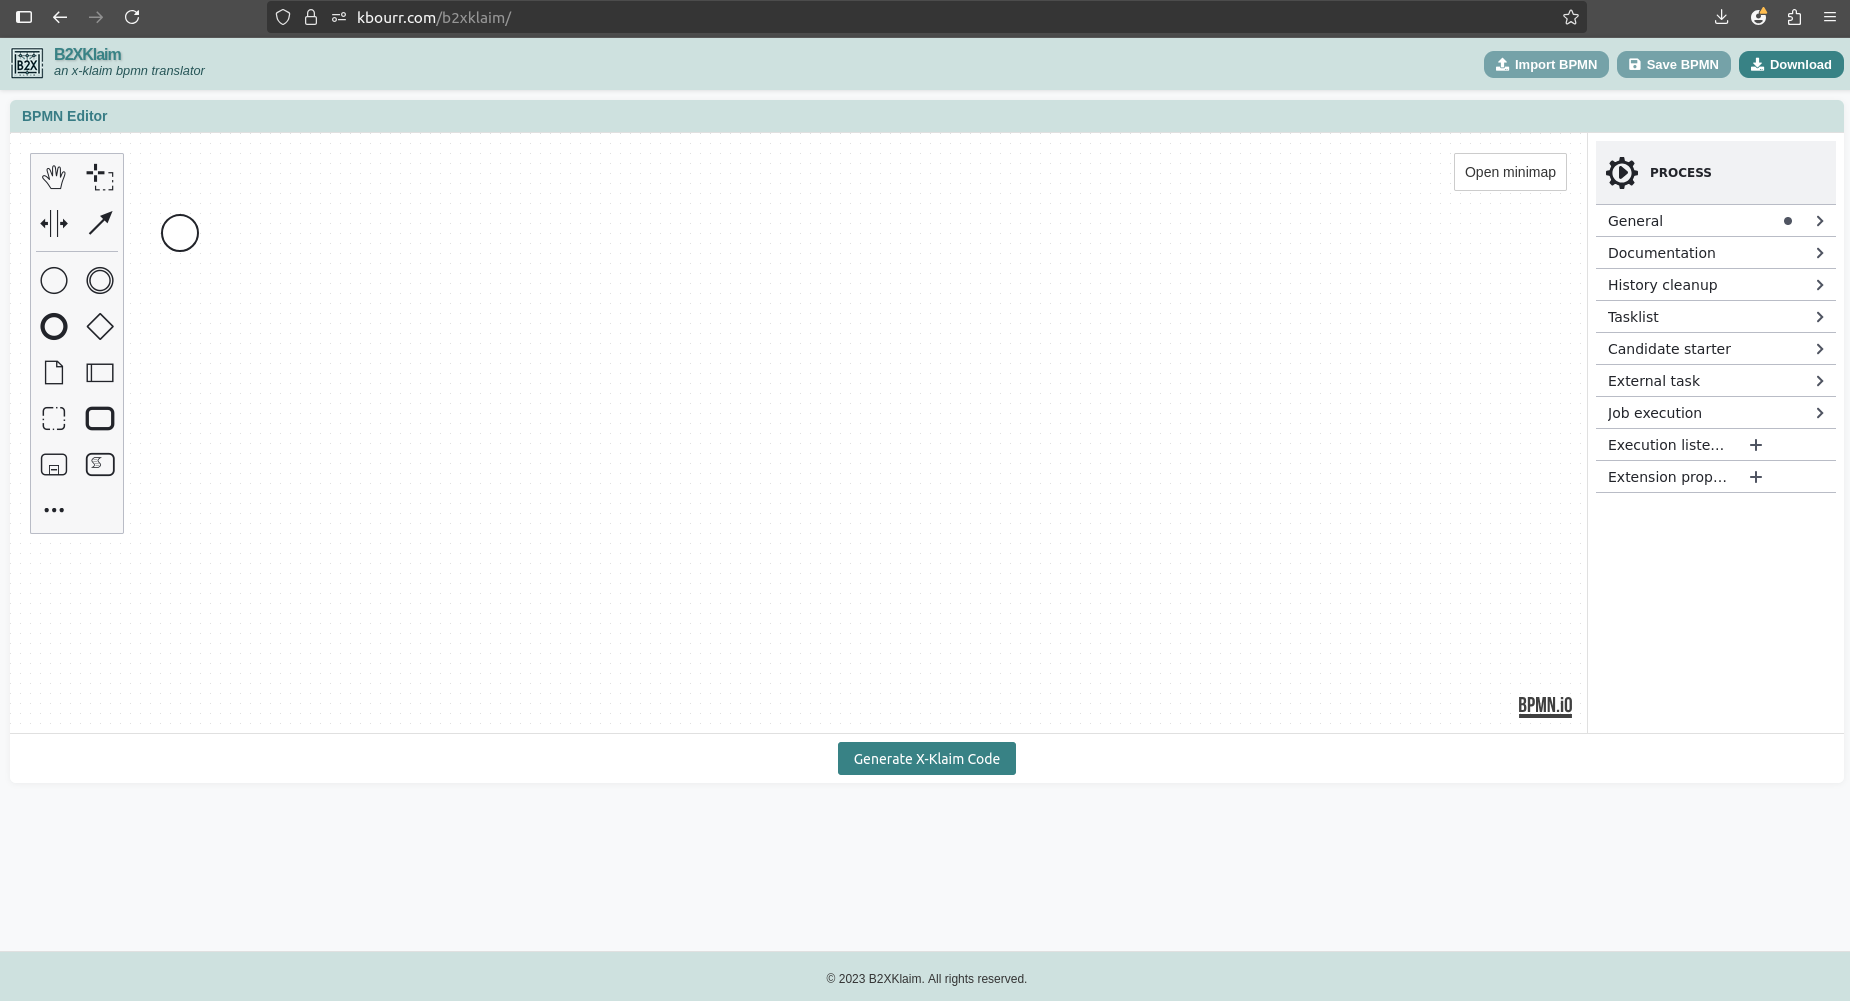
Start your B2XKlaim development environment. Open the web app tool in your browser — you should see the B2XKlaim interface with the BPMN editor and navigation buttons.
Design Your BPMN Diagram
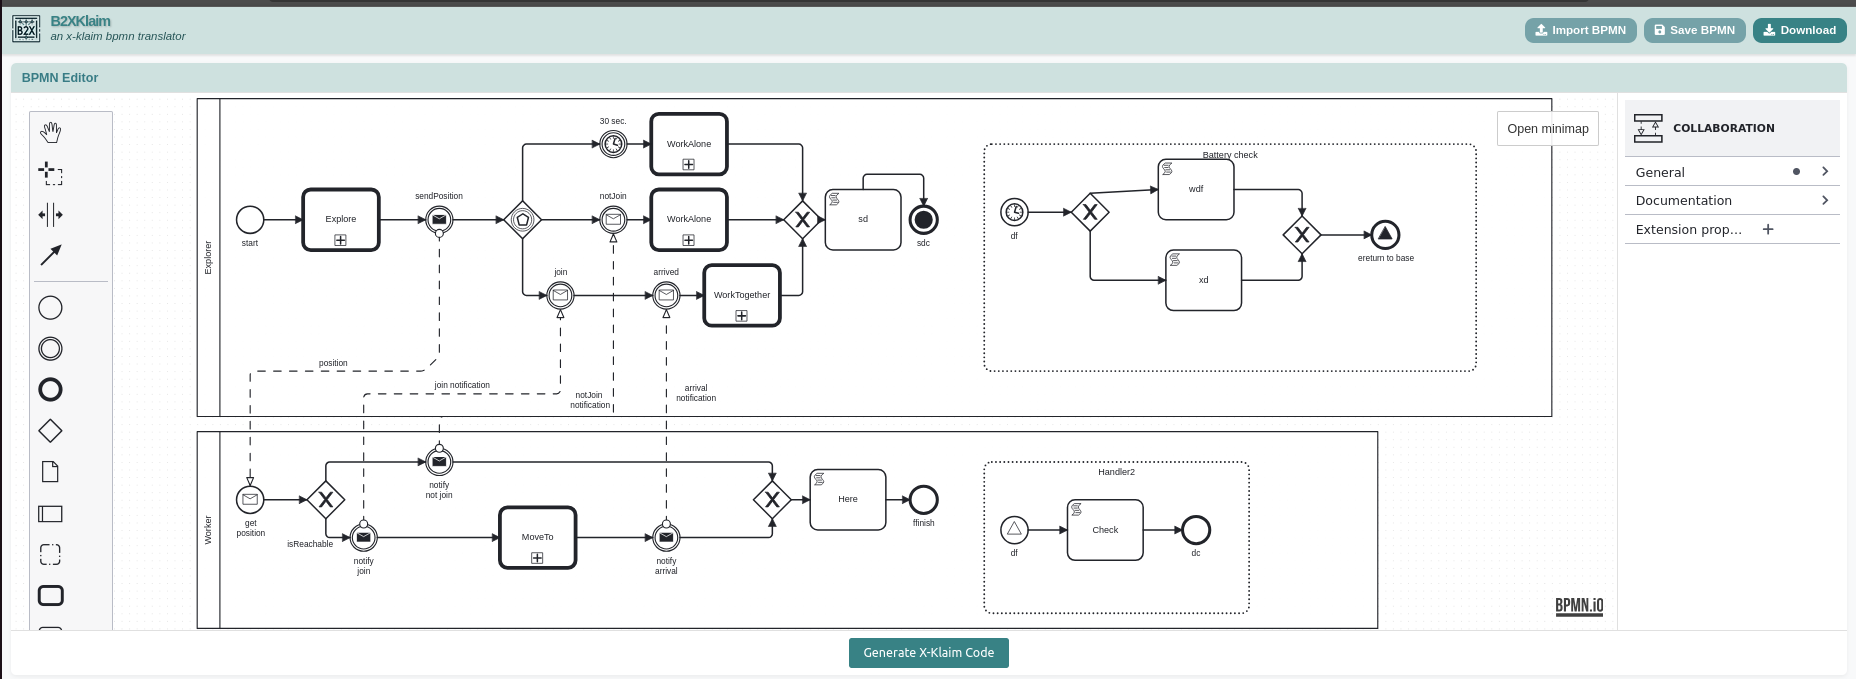
Use the built-in BPMN editor to create your multi-agent process. Give each element a descriptive name, keep tasks simple and single-purpose, use call activities for reusable behaviors, and add proper start and end events.
DESIGN COMPONENTS
Participants
Represent different robots / agents
Tasks
Define the actions each agent should perform
Call Activities
Reference reusable processes
Script Tasks
Add custom logic
Message Flows
Define inter-agent communication
Pro tip
Import existing BPMN files with the "Import BPMN" button in the navigation bar.
IMPORTANT REQUIREMENTS
- Element Names — each BPMN element must have a descriptive name
- Message Events — message flows must connect throw and catch events
- Call Activities — must specify a called element (Type: BPMN)
- XOR Gateways — conditions must be defined (Type: Expression)
- Well-Structuredness — a splitting gateway must merge before the next element
- Timer — only duration is supported
Generate X-Klaim Code
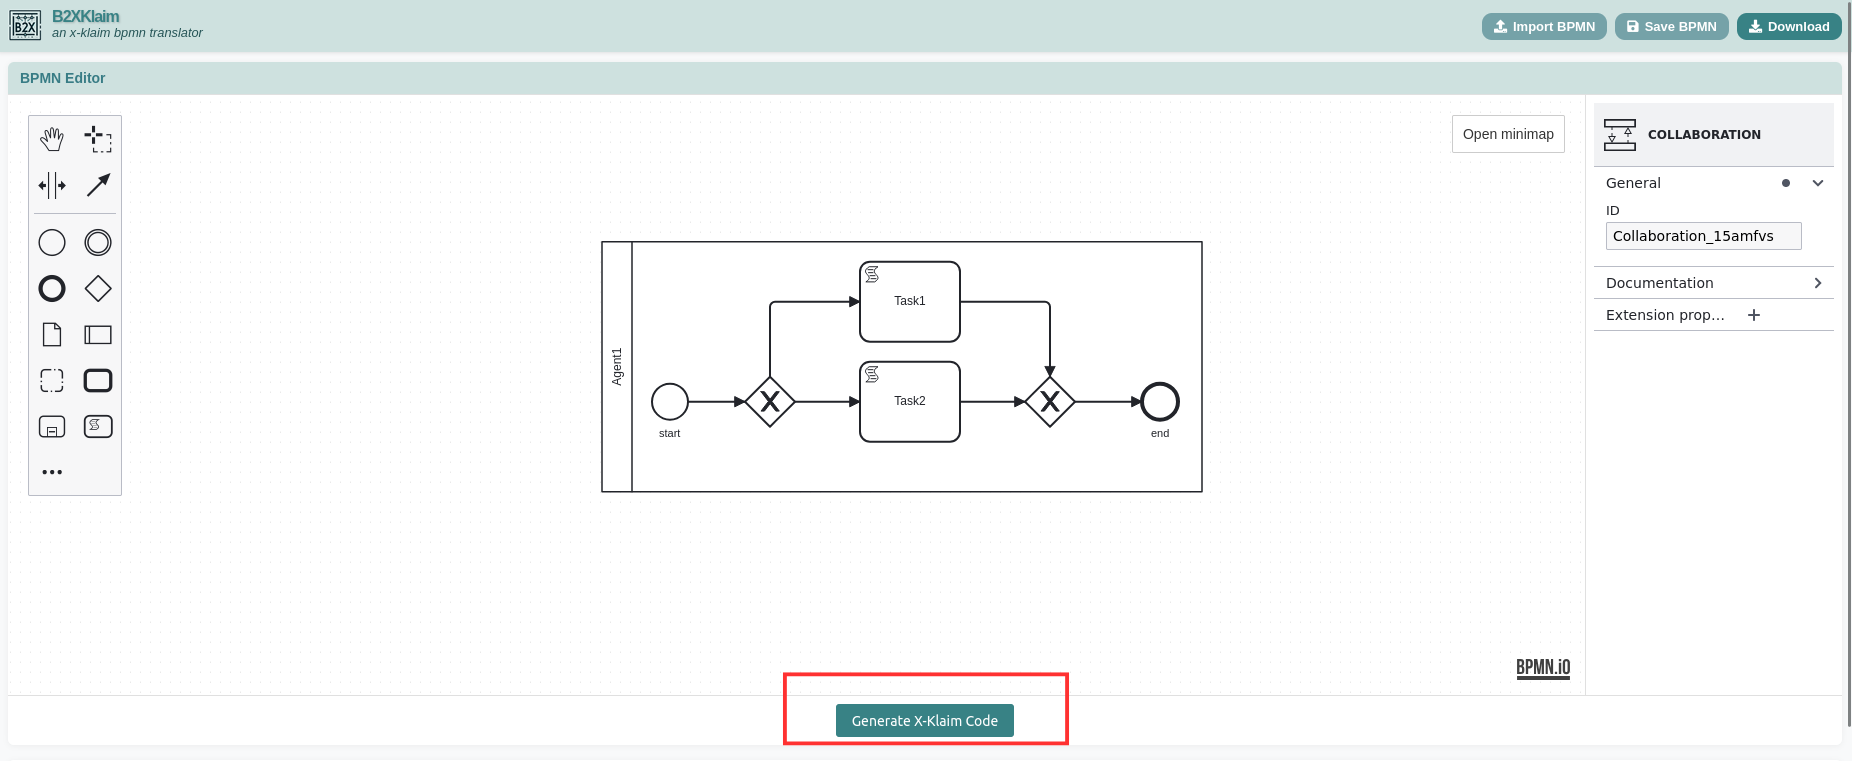
Transform your BPMN diagram into executable X-Klaim code. Click "Generate X-Klaim Code", wait for the backend to process your BPMN, then review the generated code in the different tabs.
VERIFY THE OUTPUT
- Collaboration — main coordination network
- Processes — individual agent behaviors
- Event sub-processes — exception handlers
- Activities — reusable procedure placeholders
Configure Project Settings
Customize your project configuration before export: project name, group ID, artifact ID, and version. The tool automatically appends a unique identifier to prevent naming conflicts when importing to Eclipse.

Download the Project
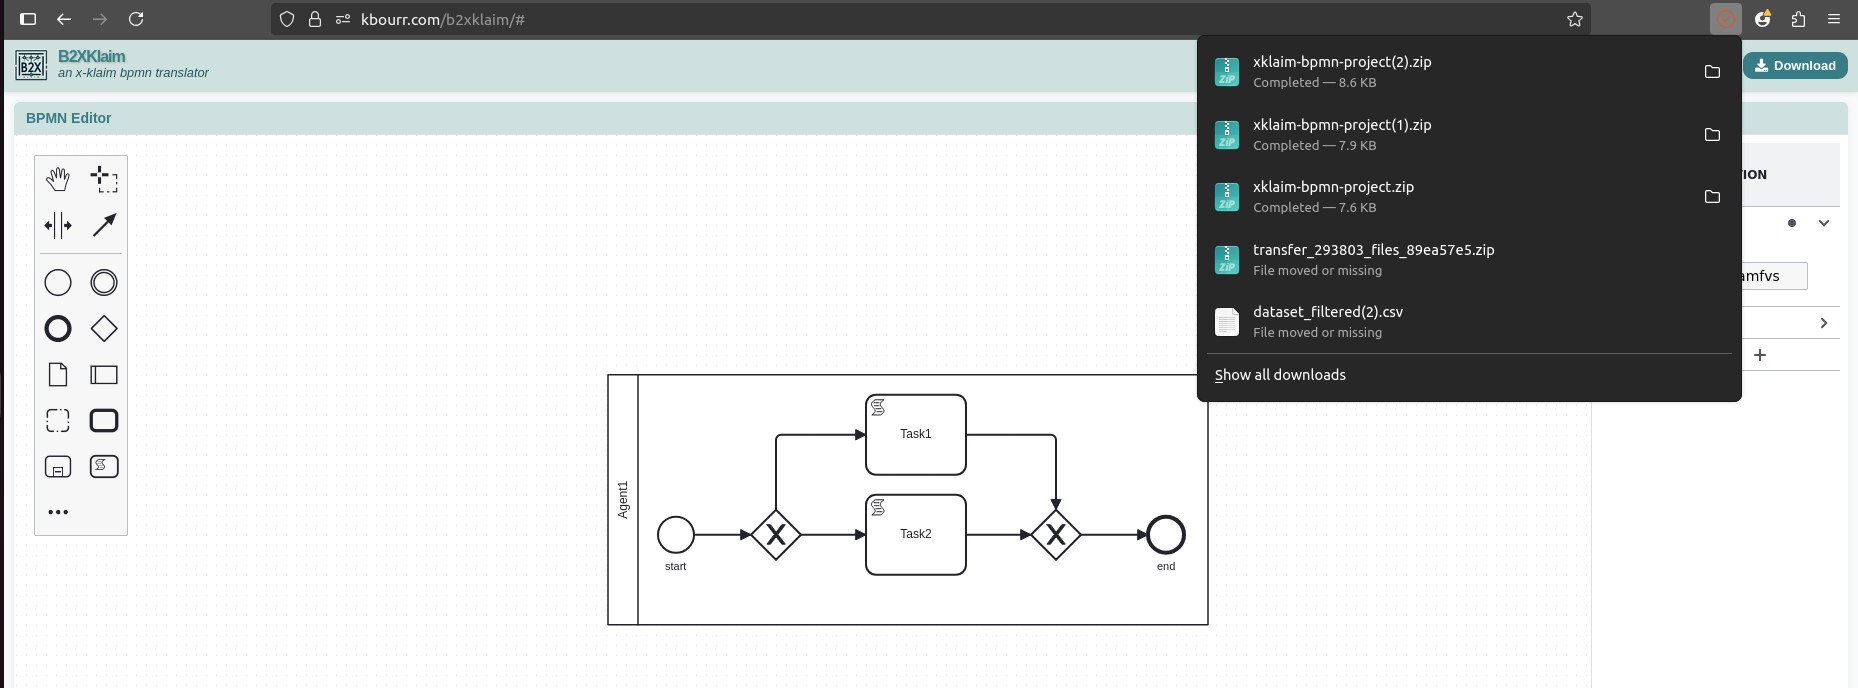
Click "Download" to get a ZIP file with your complete Eclipse project, including all necessary Maven dependencies.
PROJECT STRUCTURE
project-name/
├── src/main/java/
│   ├── Collaboration.xklaim
│   └── agentName/
│       └── AgentBehavior.xklaim
│   activities/
│       ├── MoveTo.xklaim
│       └── ScriptTask.xklaim
├── pom.xml
├── .project
├── .classpath
└── README.md
Import to Eclipse
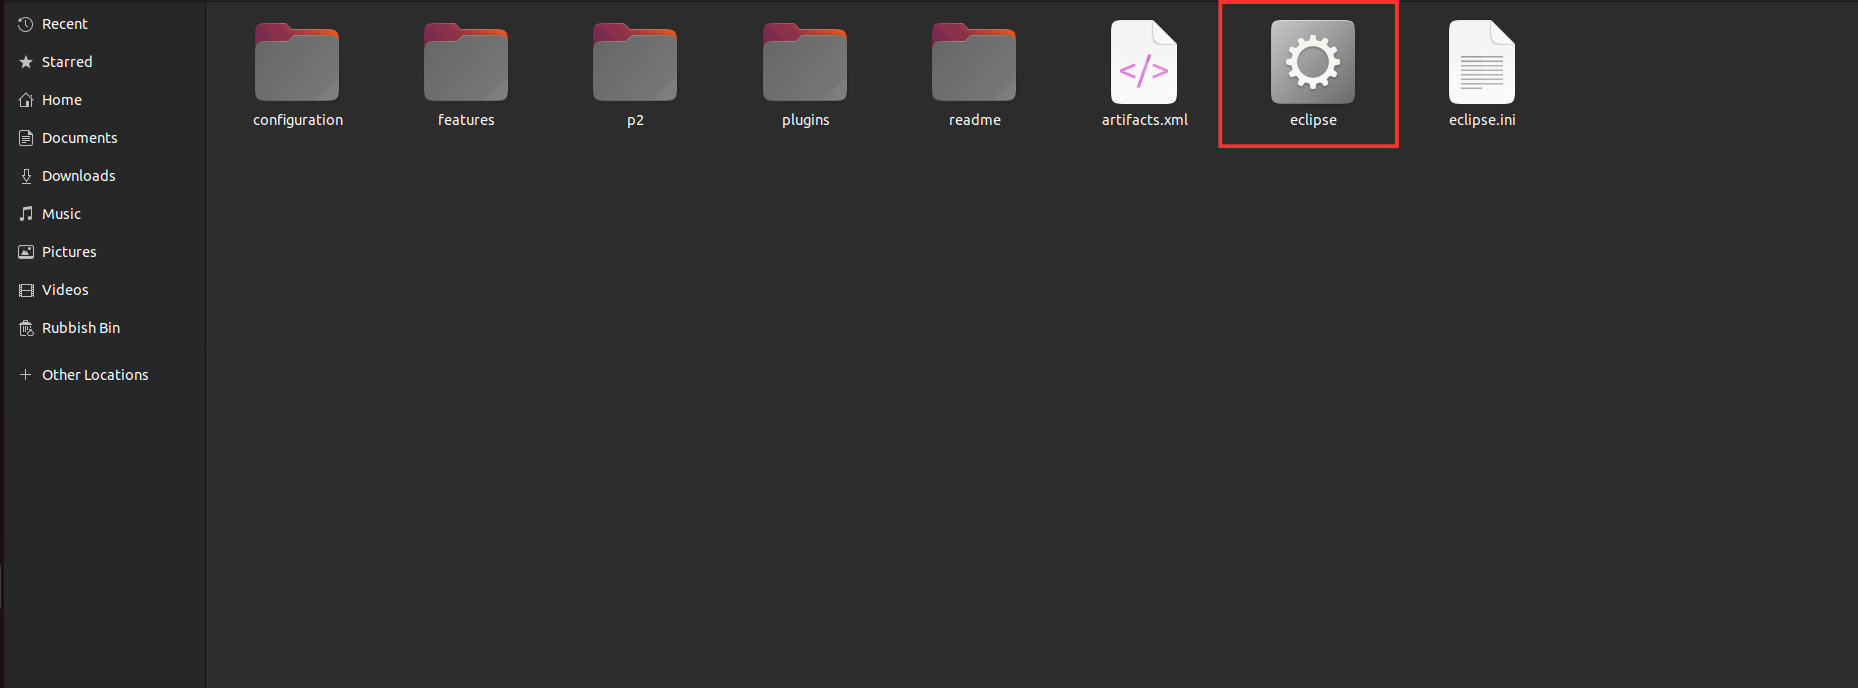
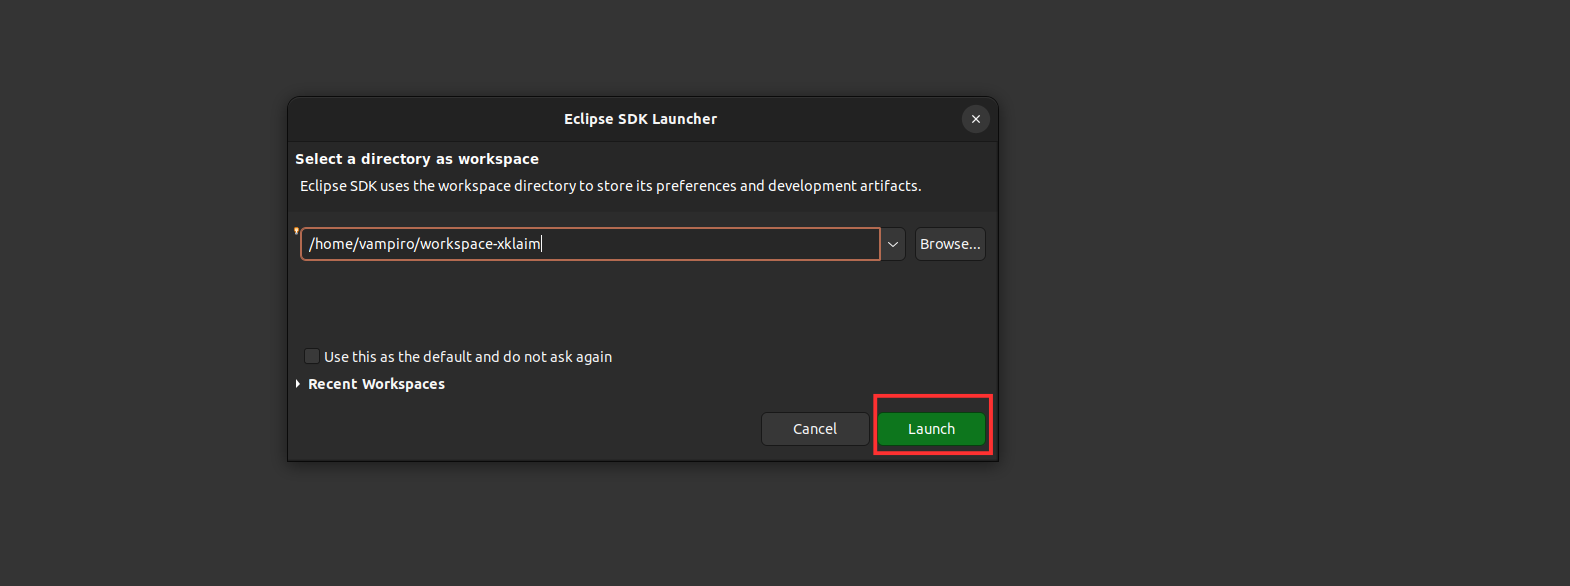
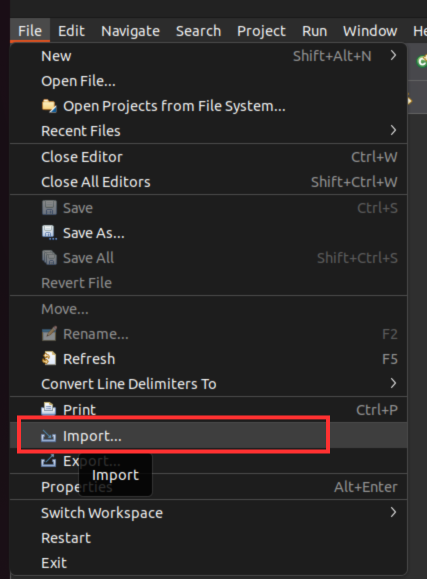
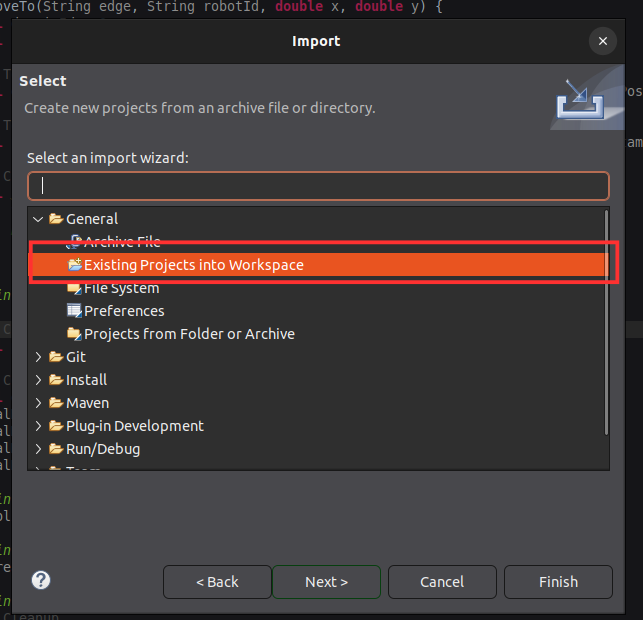
Open Eclipse with the X-Klaim plugin installed, then go to File → Import → General → Existing Projects into Workspace. Select "Select archive file", browse for your ZIP, and click "Finish".
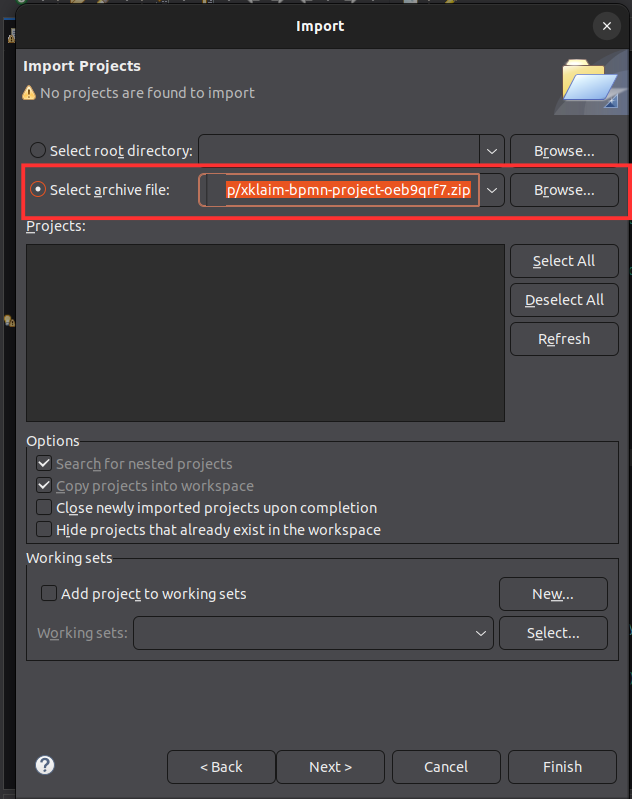
PREREQUISITE
Prerequisite: first install Eclipse with the X-Klaim integration from the X-Klaim plugin
Implement Robot Integration
Complete the robot integration by implementing the activity placeholders in the activities package: wire call activities with jROS2, add ROS2 publish/subscribe, and connect to your robot navigation and control systems.
PRO TIP
If you see red underlined imports (ROS2Node, ROS2Topic, PoseStamped), right-click and select "Import", or press Ctrl+Shift+O to organize imports.
Verify Activity Integration
Check how the activity is called in the main processes and confirm the ROS topic names match your actual robot configuration using ros2 topic list.
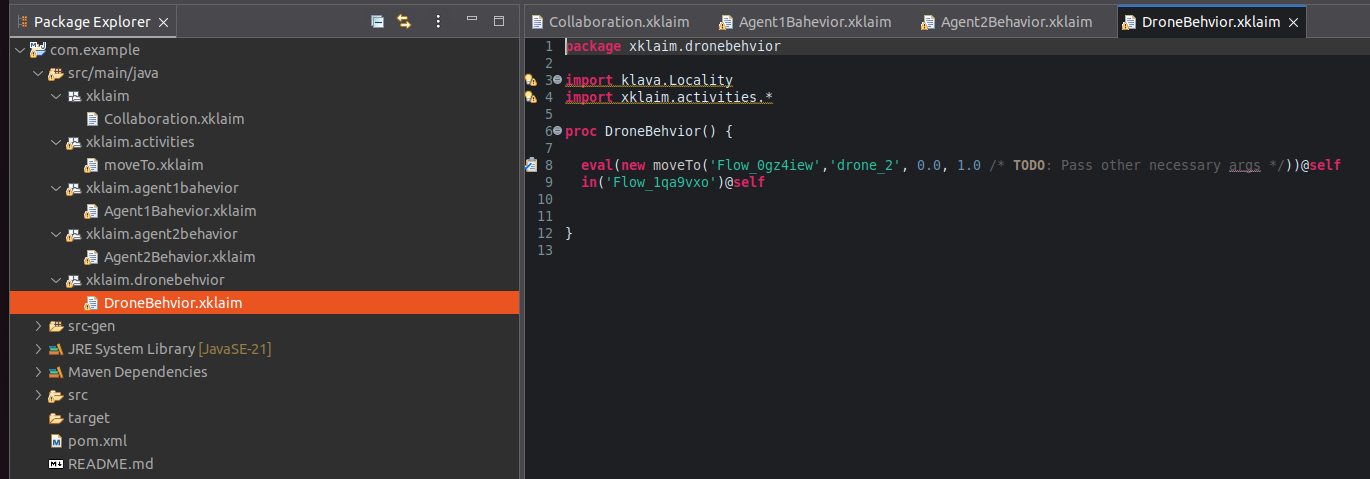
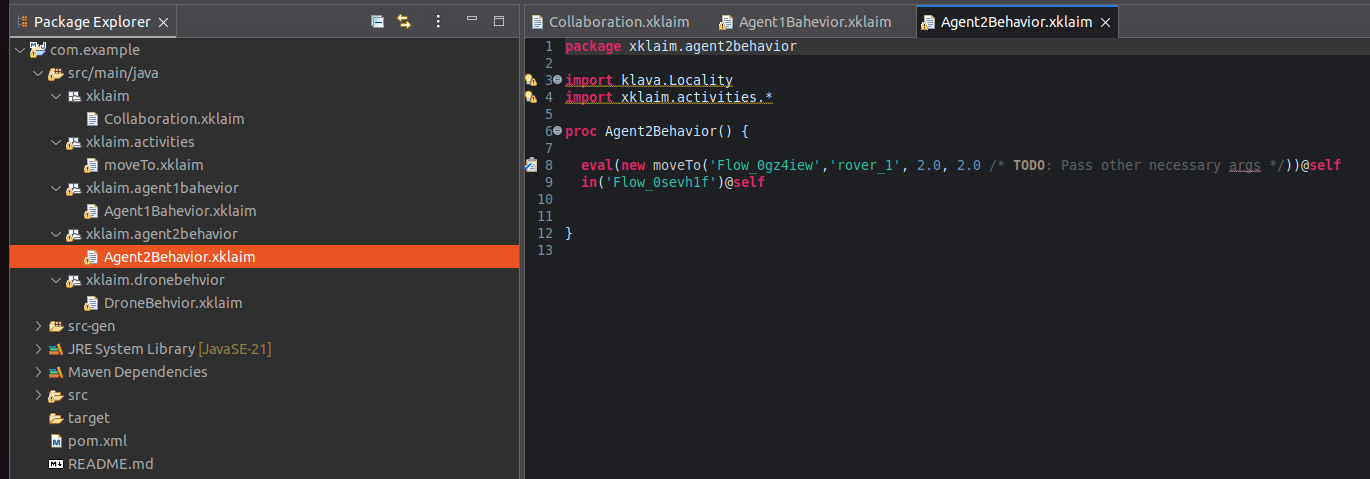
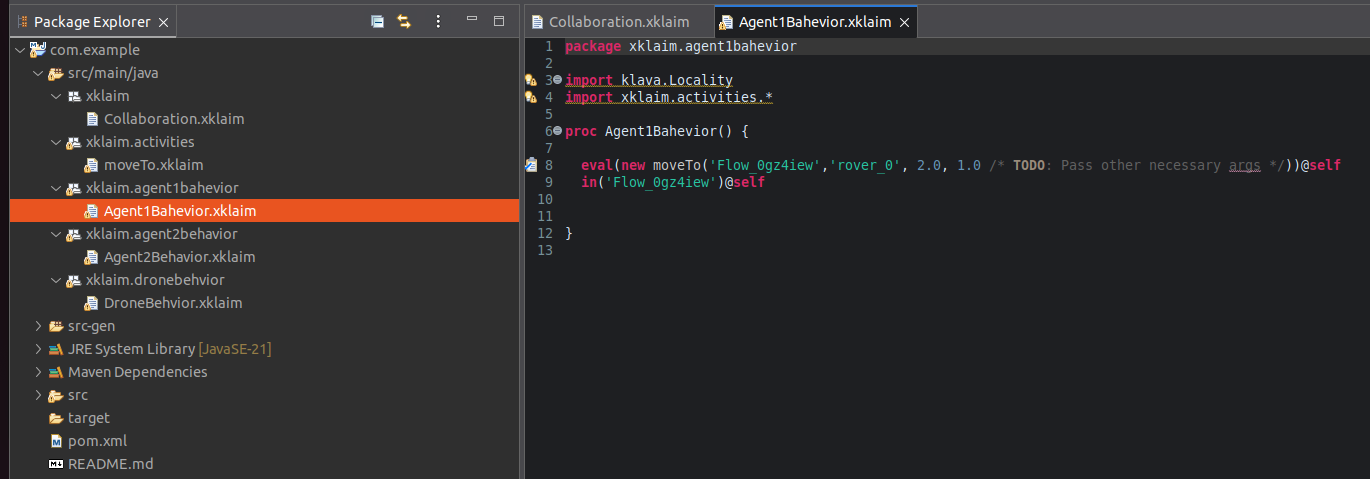
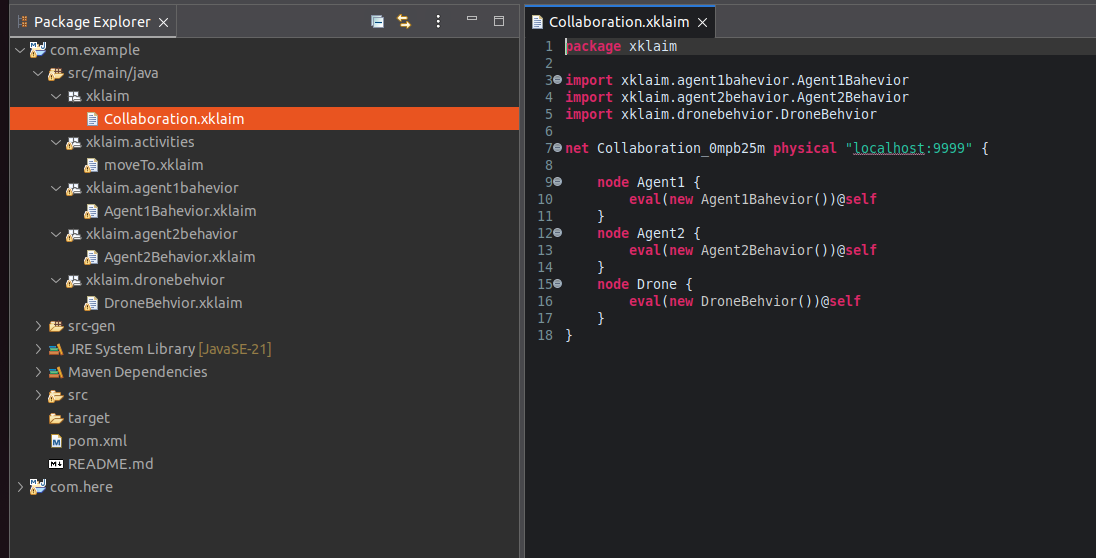
Build and Run the System
Start your robot simulator (Gazebo, RViz, etc.), find Collaboration.x in the project explorer, right-click and select "Run As" → "XKlaim Application". Monitor the Eclipse console to confirm robots execute the coordinated behavior.
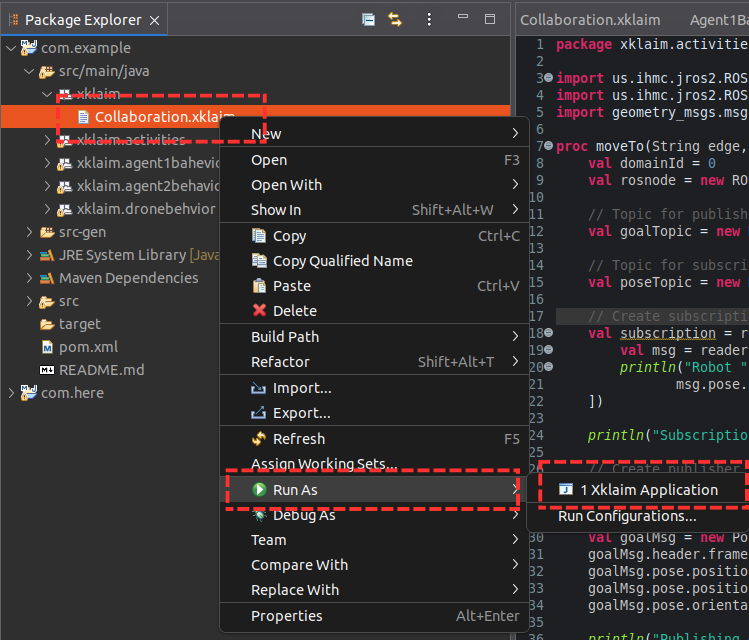
VERIFY THE OUTPUT
- Confirm robots execute the coordinated behavior in your simulator
- Monitor ROS2 topics for message flow — ros2 topic echo /agents/robot1/goal_pose
- Verify multi-agent coordination is working as designed
ECLIPSE CONSOLE OUTPUT
Subscription established for robot1
Publishing goal pose for robot1 to (2.5, 3.0)
Robot robot1 position: (0.0, 0.0)
Monitoring pose updates in background...
Closing node for robot1
JROS2 INTEGRATION EXAMPLE
Process to publish a goal pose
proc moveTo(String edge, String Robot, double x, double y) {
  val domainId = 0
  val rosNode = new ROS2Node("ros_node_" + Robot, domainId)
  val goalTopic = new ROS2Topic<PoseStamped>("/robots/" + Robot + "/goal_pose", PoseStamped)
  val publisher = rosNode.createPublisher(goalTopic)
  val goalMsg = new PoseStamped()
  goalMsg.header.frameId.append("map")
  goalMsg.pose.position.x = x
  goalMsg.pose.position.y = y
  goalMsg.pose.position.z = 0.0
  goalMsg.pose.orientation.w = 1.0
  publisher.publish(goalMsg)
  println("Publishing goal pose for " + Robot)
  out(edge)@self
}
Process to subscribe to a pose
proc moveTo(...) {
  val poseTopic = new Topic<PoseStamped>("/robots/" + Robot + "/pose", PoseStamped)
  val subscription = rosNode.createSubscription(poseTopic, [reader |
    val msg = reader.read()
    println("Robot position: " + msg.pose.position)
  ])
  println("Waiting for pose updates...")
}
ADDITIONAL FEATURES
TROUBLESHOOTING
- Import conflicts — projects are auto-named with unique identifiers.
- Missing dependencies — ensure jROS2 and X-Klaim runtime are available.
- Build errors — check Java version compatibility (Java 21+).
- ROS2 connection — verify the ROS2 domain ID and network configuration.
- JROS2 docs — https://github.com/ihmcrobotics/jros2/